Wednesday, August 10, 2016

Day 3

Accomplished 3 things tonight:


  1. Checked on Tank de-rusting progress
  2. Got measurements (and found!) a new battery
  3. Removed huge rear mudflap and installed plate
 

Tank Cleaning

Tank has been filled with vinegar for 1 week. I was curious and poured some out to see how the progress is going - and the tank is already spotless inside! Vinegar worked!

Some vinegar poured out, inside of tank is spotless 


Inside tank, limit of the vinegar (brown liquid in lower half), the inside tank (upper part) looks great.

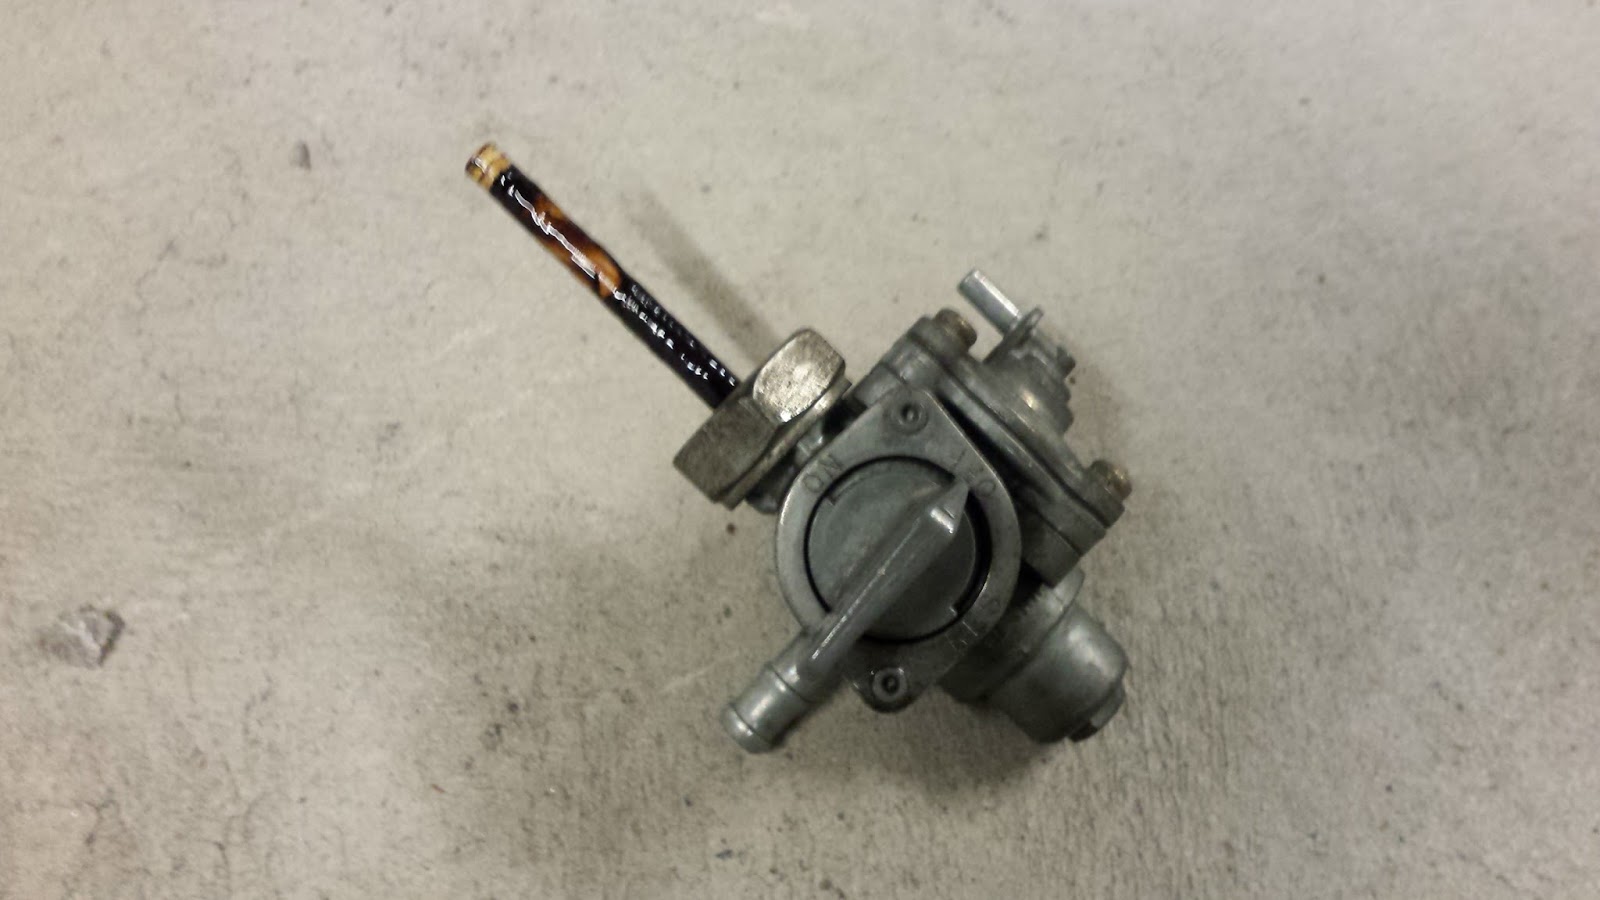
Next I will remove all the vinegar, neutralize with baking soda, rinse a few times with gas + 2-stroke oil mix (to both coat the inside of the tank so it doesn't rust, and also to remove any remaining water), get the petcock back on, and fill it up with gas. 

Battery

After a week of searching online and a visit to the local moto shop, I finally found the modern equivelant to the most random obscure battery on the planet. 

Original reference
YB7BL-A

New reference 
12n7a-3a - X4

And I found a shop in France that actually carries it!


The new battery is the closest thing I could find that has same characteristics AND dimensions. 12 volts, 7 amp, and that fits in this tiny, skinny little battery holder on the bike. The more common 12na7a-3a is slightly too wide (at 75mm). However I found a shop that carries a few versions of the same battery that has the exact dimensions I need and also the gas exhaust port and polarity on the correct side. 

Interesting things I've learned about lead-acid motorcycle batteries. 
  • Volts and Amps differ a lot, once you find what you need then even for the same battery:
  • Dimensions (usually two of the three are perfect, and the third side is too big)
  • Terminal location (positive and negative can be on either side / orientation)
  • Gas / exhaust port location. Since these batteries breathe, there is a gas escape port
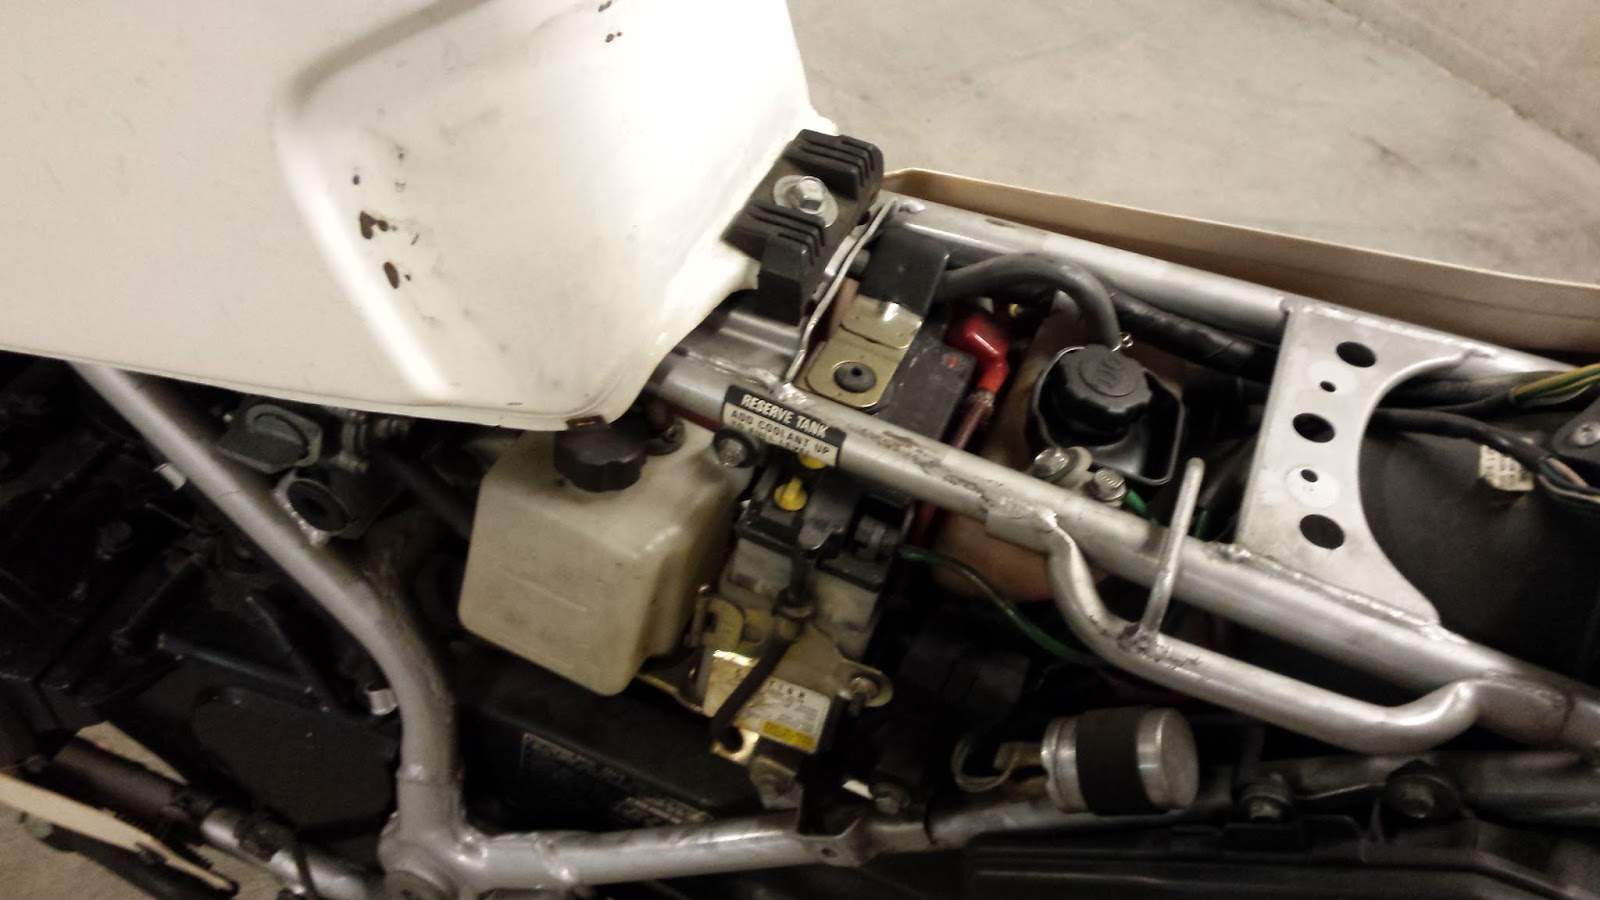
So I finally found the battery that meets all the criteria and will fit in this tiny cage:

Battery cage, constrained to 153mm L, 135mm H, 68mm W


Backside


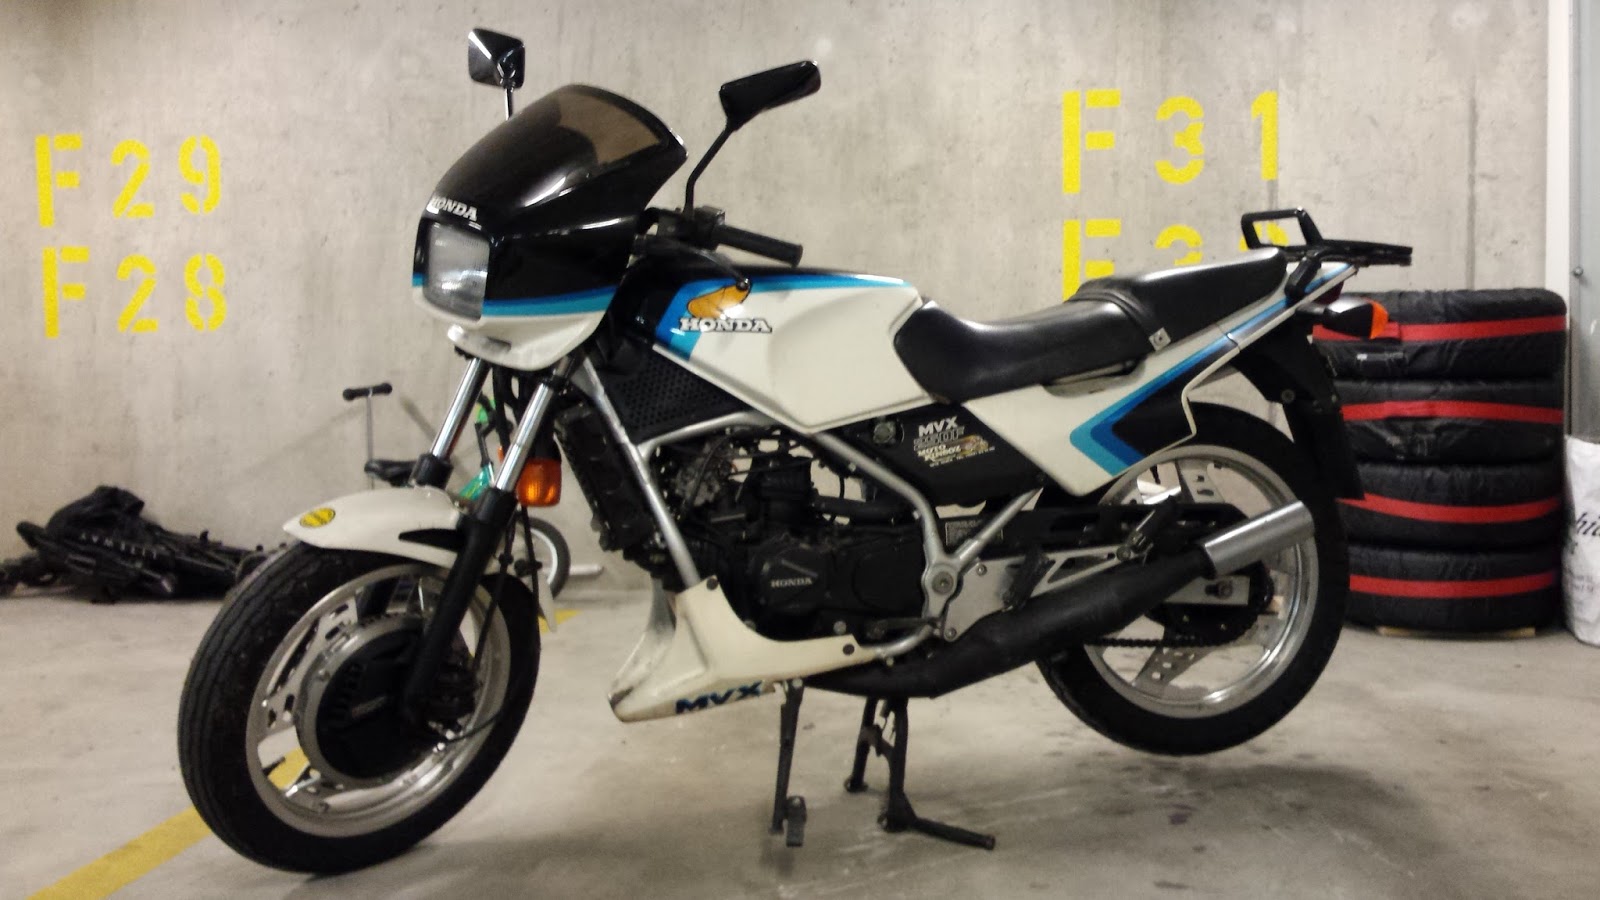
Cleaned up the rear a bit. Took off this huge tractor mudflap (don't plan on riding this thing through the forest).

Dump trunks don't have flaps this big!


To my surprise, there was a nice bracket already installed so putting on the plate (from my CBR) was a breeze.

Looks better with a plate. Now we have to get it to run.


Thursday, August 4, 2016

Useful Links

Amazing complete bottom-up restoration project in Kent, UK

Best MVX 250F ever!
http://diffrentstrokers.com/phpBB2/viewtopic.php?t=962&postdays=0&postorder=asc&start=0

Forum topics:

http://diffrentstrokers.com/phpBB2/viewtopic.php?t=764&sid=33998c26fbd6ad93de8e62f38f73d129


Battery (YB7BL-A) info:

(Hard to find a direct replacement with same dimensions and characteristics).

http://www.kagebatteries.com/yuasa-cross-reference/

http://www.powershopuk.com/Batteries-Vehicle-Motobatt-Honda-Honda-MVX-250-F-MC92-1983-AGM-Motobatt-Battery.html


Wiki info:

https://en.wikipedia.org/wiki/Honda_MVX250F


Owner's manual:

http://www.hondampe.com.au/docs/owning_a_honda/owners_manuals/motorcycles/MVX250F-1983.pdf

Other Pics:


Haha, even found a Manga-version of this bike!

Engine - very interesting 3-cylinder layout.


Day 2

2016-08-03

Tank Rust Removal : Decided to go with the Vinegar method. Seems to be quite effective, cheap, and somewhat less dangerous than hydrochloric acid or other caustic chemicals.

More info on the method here:   Remove rust from a gas tank

Basic steps :

  1. Empty tank
  2. Fill with vinegar / metal screws and shake to loosen the big rust chunks
  3. Let it soak 1-2 weeks
  4. Rinse with sodium bicarb to neutralize acid
  5. Rinse with fuel + 2-stroke premix to remove water, prevent flash rust
  6. Rinse with some fuel
  7. Fill it up with fresh fuel
Tank came off relatively easily. Unhooked the main fuel line and the vacuum line from the petcock, and one bolt in the center under the seat. Tank slides back and up, was sitting on two rubber holders. Rubber and under-tank padding in good shape. 

Petcock came off easily, but as I suspected, totally gunked up, will need a good cleaning.


Gas tank ready to be filled with 15 liters of vinegar. I never bought such a huge amount of vinegar in my life!


Drained the tank, Old fuel came out very slowly. Emptied out the top hole while shaking, tons of rust flakes and gunk came out with the old gas. What a smell. Added in 8 big screws, 30 tiny screws and filled up about 1/3 with vinegar. Shook the vinegar / screw mix, then topped off the tank with vinegar and put the cap back on.


Now we wait and let the vinegar do the job.

BATTERY : I also took out the battery and it's in pretty bad shape. Will have to get a replacement.

Type : YB7BL-A


AIR CLEANER : I checked out the air filter compartment as well. While there was no filter element in there, everything looks pretty clean.
Air filter box


Day 1

2016-07-26

Got familiar with the bike a bit more.

Took off the somewhat ugly helmet case carrier on the back. Looks nicer without it.
Metal helmet case bracket. 
Took off a lot of plastics and lower fairing (looks strange without the mid-fairings, I think I'll leave the lower one off once rebuilt). Overall the plastics are in good shape. Some annoying dealership stickers all over, but I'll spend time cleaning those up on the final stages if we manage to get this thing running.

Petcock on fuel tank was stuck a bit, but I manged to get it to turn. Seems gunked up inside, it will need a good cleaning.

Some good news, the 2-stroke oil reservoir is still about 2/3 full. No air bubbles in the system, so this may save some time since I won't have to bleed the oil system.
Engine coolant reservoir on left, 2-stroke oil in middle on right

aaaack - and the worst part. Fuel tank totally rusted / varnished on the inside. There's still a little bit of 15 year old gas in the bottom, so maybe its not 100% rusted. Maybe only 98% ....

That was enough for the first evening. Next time, getting the tank off and starting the cleaning.


New Project

I have a very rare 3 cylinder 250cc motorcycle, and while it's been sitting in a garage since 1984, it hasn't been run for 15 years. Overall it's in great shape for 26'000 Km (16'000 miles), however there is some work to do.

Here I plan to document my attempts to get this thing running again. I plan to spend 1 evening per week on it.

To-Do :

  • Clean and treat the rusty gas tank
  • Replace the battery
  • Replace spark plugs
  • Check Fluids (2-stroke oil, engine coolant, engine oil)


If the motor runs :
  • Take off and replace both tires
  • Fix front turn signals
  • Clean it
  • Try to have it pass inspection and...
  • Get out and ride!


MVX 250 F  - 1984 - with mid and lower fairings

MVX 250 F - 1984 - no lower plastics


And OUR new moto.. The starting point for this project :